

In this age, we no longer use earphones because this is the age to go wireless. Almost all of us have Airpods, but we don’t just use Airpods with our smartphones; we also use them with our laptops.
However, the biggest question that comes to our mind is how to connect AirPods to your laptop. Whether you want to hear your favorite tunes or attend some virtual meetings, your AirPods are your perfect companion, and we’re here to ensure they sync effortlessly with your laptop, too. But how?
Let’s see some steps.
How to Connect AirPods to Your Laptop?

We have divided the topic into three steps on how to connect AirPods to your MacBook and your Windows laptop. But before delving into the main topic, feel free to explore our latest article on Dell laptop not turning on.
Step 1: Ensure Compatibility
Before connecting your AirPods to your laptop, let’s ensure they’re compatible with the device. Airpods gracefully work with various devices, but still double-check if your laptop supports Bluetooth connectivity. Almost all laptops have the option of Bluetooth connectivity, but there are still some laptops that don’t allow Bluetooth connection. So check before moving on to the next step.
Step 2: Connecting Airpods on a MacBook
For our MacBook owners, you don’t even have to worry about connection and all, because they’re both from the same company and are compatible. Here is how to connect AirPods to MacBook.
- Unlock the MacBook: Wake your MacBook up from its sleep by tapping the Touch ID button or entering your password.
- Open System Preferences: Move your cursor to the Apple icon on the top-left corner of the laptop screen. And from the drop-down menu, go to the “System Preferences.” From there, connecting your AirPods to your laptop will become easy.
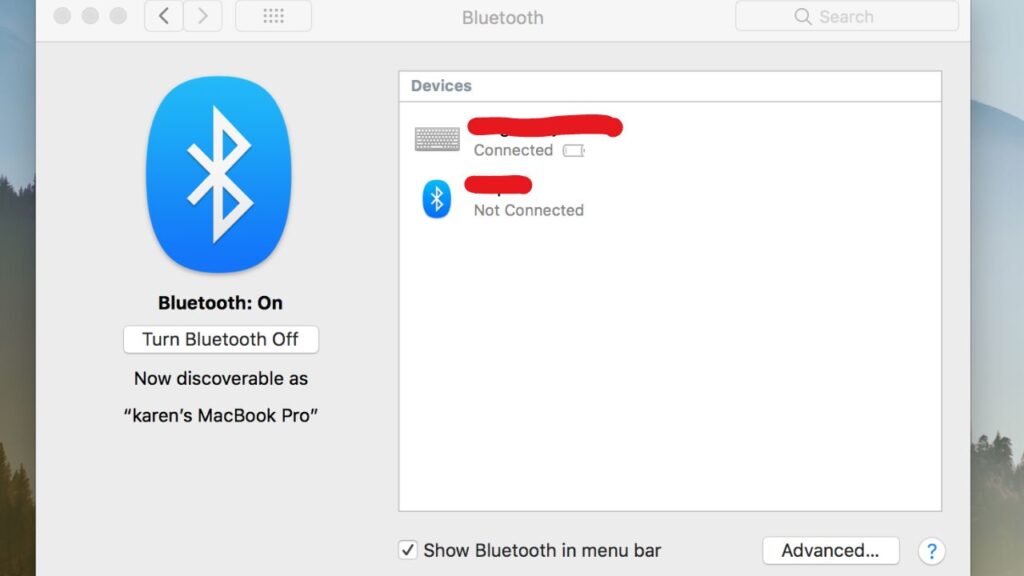
- Open Bluetooth Settings: Inside the System Preferences menu, locate and click on “Bluetooth.” Once the Bluetooth option opens, you will see a number of options. But, first…
- Activate Bluetooth: If Bluetooth is not already activated, toggle the switch to turn it on.
- Access Airpods: Now, open your Airpods case. Take out your Airpods; once they are out and turned on, they will start to search for the nearest available Bluetooth option.
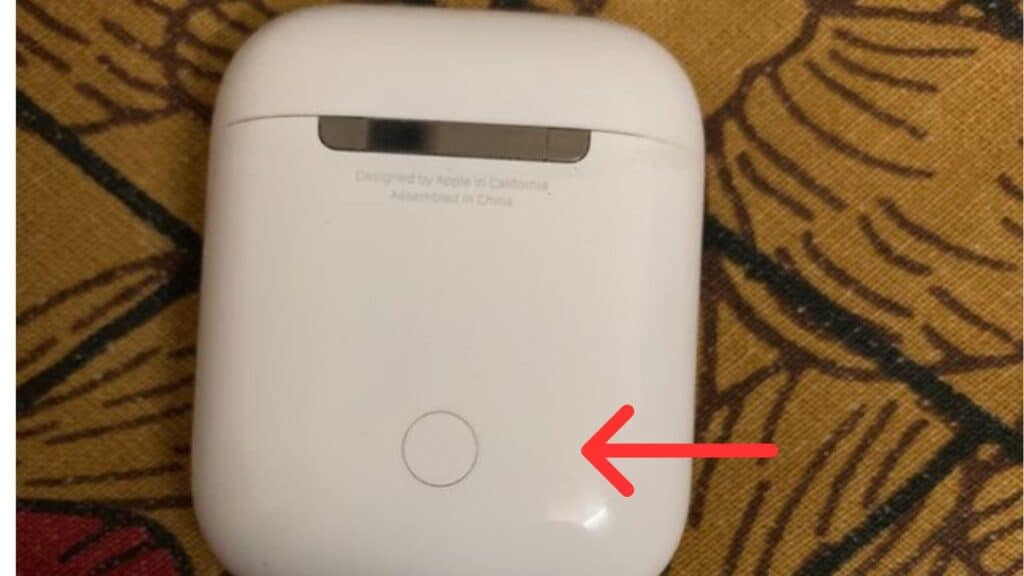
- Press and Hold Button: The setup button turns on on the back of the AirPods case. Press and hold it until the light starts to blink.
- Connect to MacBook: Your Airpods should now appear in the Bluetooth menu. Click “Connect.”
- Confirmation: Once connected, a cheerful message confirms your connection. Your AirPods are now connected, and you can use them in any way you want.
Step 3: Connecting Airpods to Windows Laptop
Don’t worry, non-MacBook users, if you don’t have a MacBook, you can still connect AirPods to a laptop easily. Here is how.
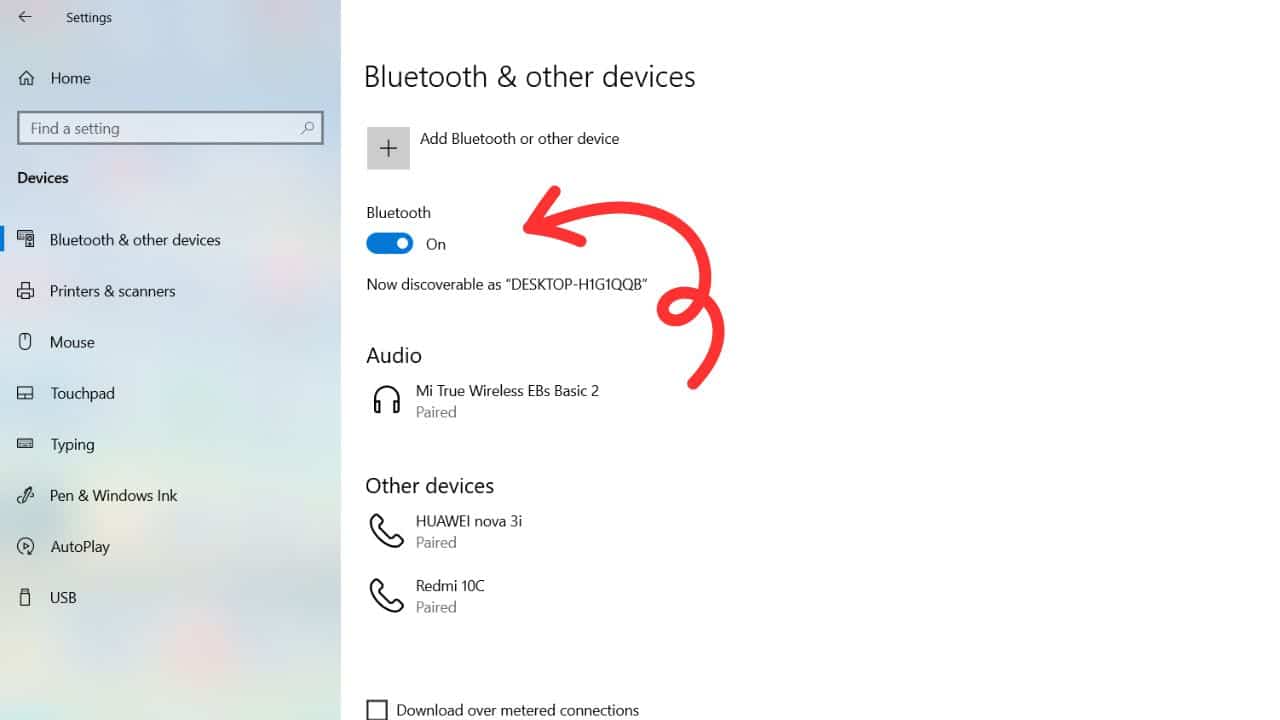
Activate Bluetooth: Just like on a MacBook, ensure Bluetooth is activated on your laptop. Navigate to your laptop’s settings and activate Bluetooth if it’s not already on.

Access Bluetooth Settings: Depending on your laptop’s operating system, find the Bluetooth settings menu. It may be hidden within the Control Panel or in System Preferences. Usually, Bluetooth is available on the right side of the toolbar, where you can turn it on or off.
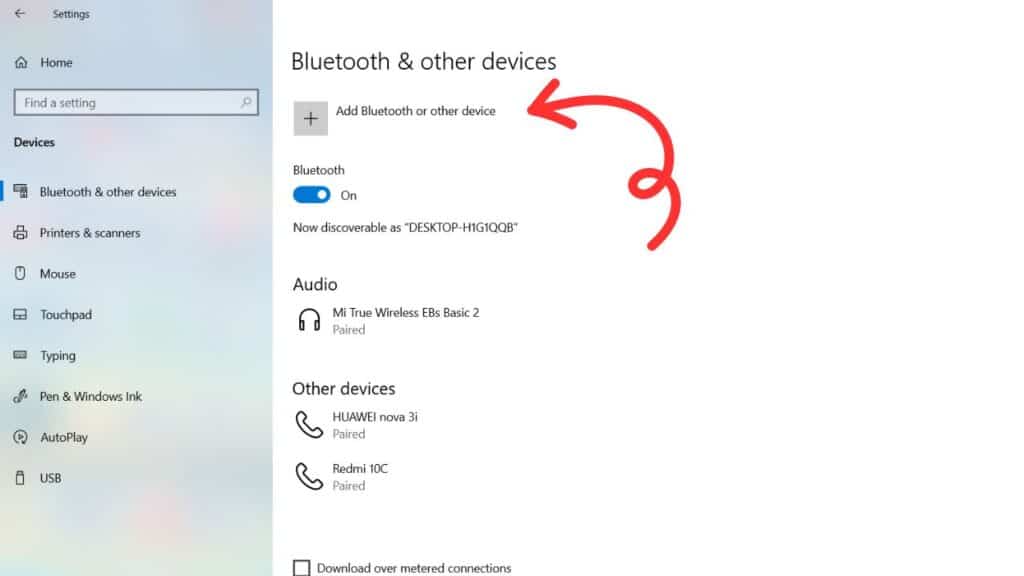
Discover Devices: Within the Bluetooth settings, initiate a search for nearby devices. Once you do that, your laptop will find Airpods (if they are already turned on)
Open Airpods Case: Now, open your Airpods case so that your laptop can locate them and connect to them.

Press and Hold Button: The setup button on the back of the AirPods case demands your attention. Press and hold it until the status light turns on.
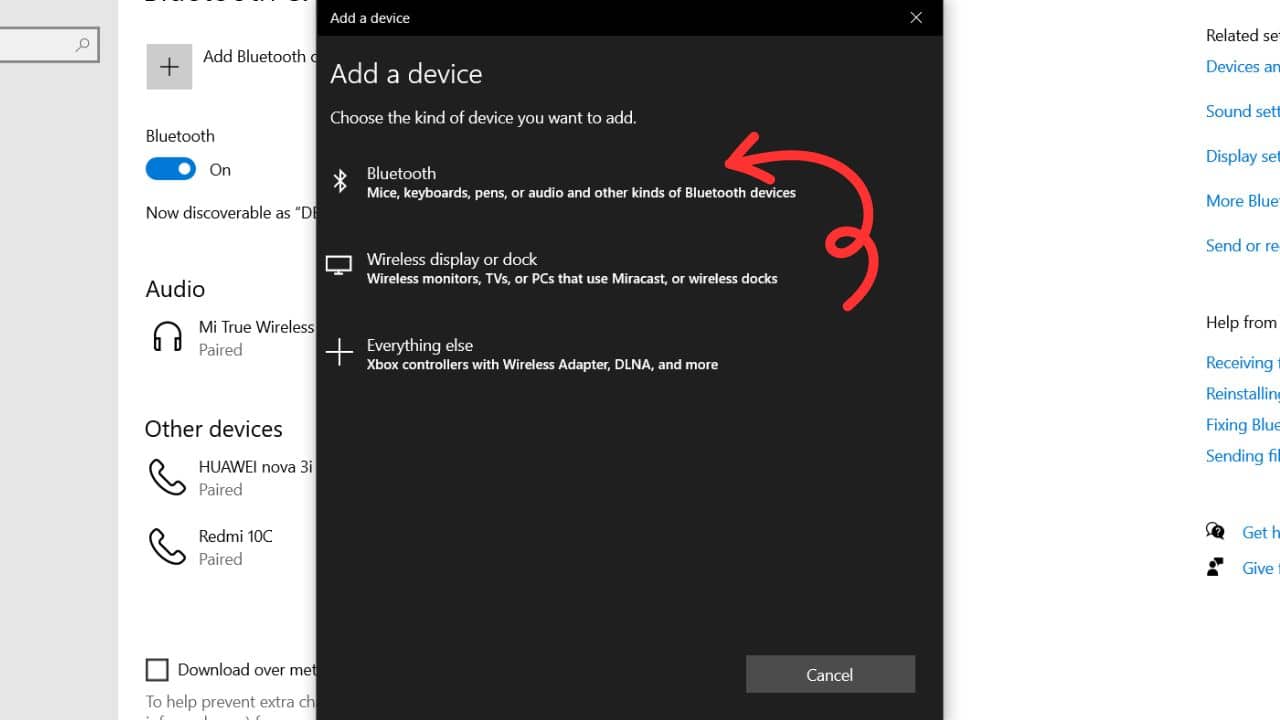
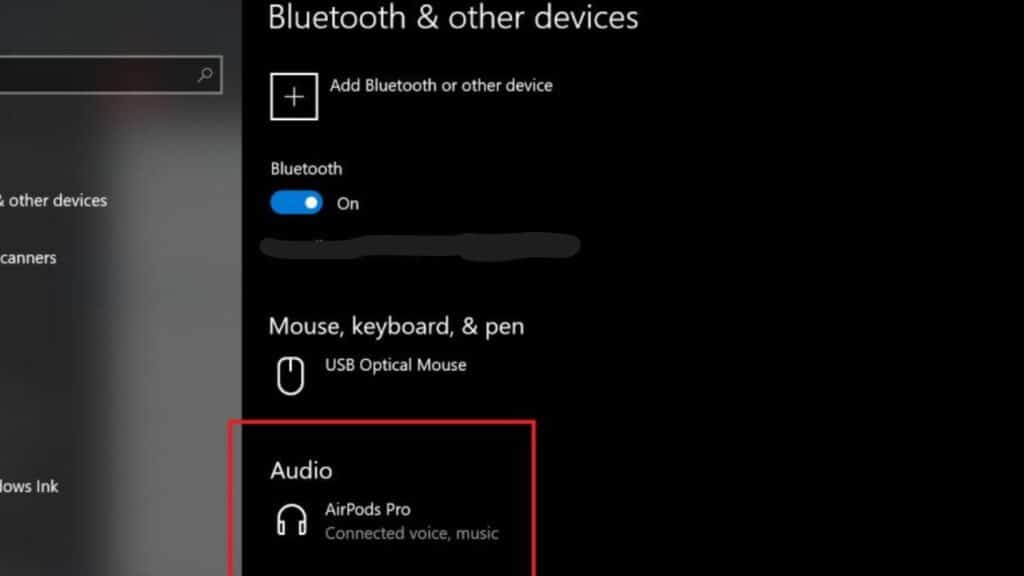
Pair with Laptop: Your AirPods will now appear in the area of discoverable devices on your laptop. Select them and initiate the pairing process.
Confirm Connection: Once paired, your laptop connects to the newfound companion. A confirmation message shows on your screen, and your AirPods are now connected to your laptop. You can use them for songs, meetings, listening to videos, and anything else you want.
Final Notes:
With your Airpods now harmoniously linked to your laptop, the world of wireless audio awaits you. Whether you’re lost in a melody or engaged in audio chatting while playing your game, this connection of Airpods and laptops can only do one thing: improve your experience. We have written a comprehensive blog on how to prevent your laptop battery from draining fast. You may read it to get valuable insights and tips to optimize your laptop battery life.
Remember, the way to connect Airpods may vary slightly depending on your laptop’s make and model, but the basics remain the same. All you need to do is to search for the Bluetooth option on your laptop and then turn on your AirPods.